Planning a science-themed birthday party? Here’s a step-by-step guide to help you make it a fun, hands-on experience for your budding scientists.
Science feels like real magic when you’re a kid, and it’s even more exciting when they get to do the experiments themselves.
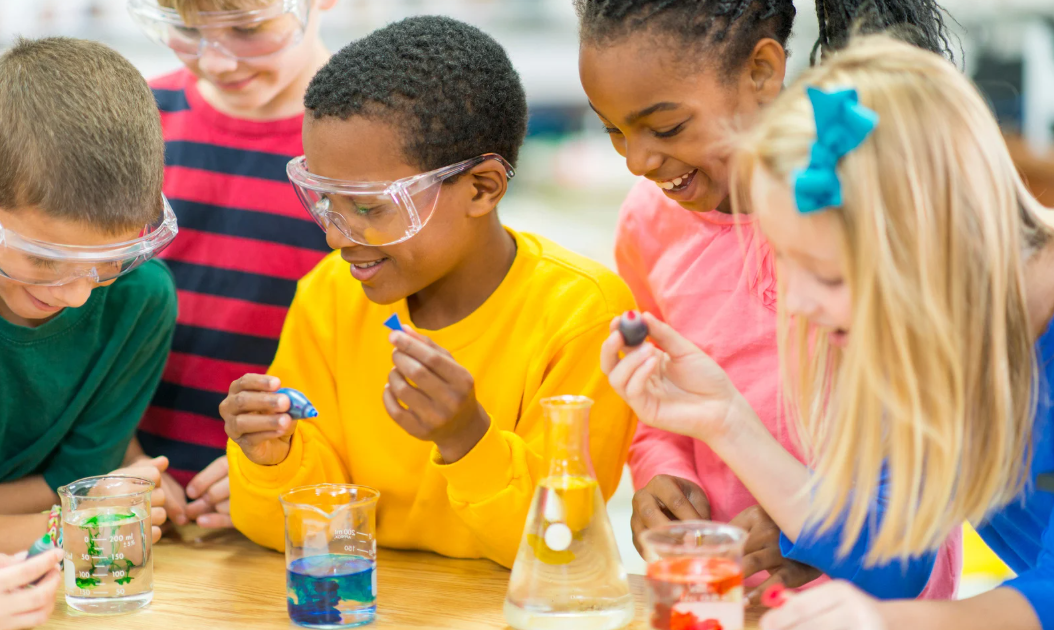
What is a kid’s science party?
During a science party, kids get to watch fun science demonstrations as well as take part in hands-on experiments. The nature of these experiments and demonstrations depend on the age groups. For example, the kids might get to make slime or watch a volcanic foam eruption.
Now that you know what you’re getting into, let’s start planning a science party!
Determine the party space
The first thing to consider is where you’ll be hosting the party. There are two broad options: at home or in a venue. In this article, we’re focusing on planning the party at home, but remember that venues often take care of everything for you from start to finish.
At home, it’s ideal to have at least two separate areas:
- One for food and presents (if it’s a birthday party)
- One for the science activities (remember, this could get messy!)
This means you can set up the table in advance without needing to clear space mid-party.
A third area for free play is great if you have it, but not essential. These areas can be a mix of indoor and outdoor spaces, or all indoors.
Tip: If you don’t have enough space at home, consider hiring a function room for the occasion. These are blank-slate spaces that work well for all kinds of parties.
Choose a date
Now that you know where, it’s time to decide when.
If you’re booking a venue or function room, check their availability early as dates can get snapped up quickly.
If you’re hosting the party at home, choose a date that suits you and falls as close as possible to your child’s actual birthday.
Pro-tip: At PartyWizz, we often suggest parents consider Sundays. Saturdays might be the go-to choice, but that also makes them the busiest. If you’re planning during a hectic time of year, Sundays can be much calmer, which makes it easier to book entertainers and ensure your guests can attend.
Make a guest list
For a birthday party, the ideal number of guests depends on your child’s age, personality, and preferences.
That said, for hands-on activities like a science party, smaller groups tend to work best, especially if you’re hosting at home. Aim for a number that allows all the kids to comfortably fit around the science or craft table, so everyone can get involved without feeling crowded.
Plan the activities
The heart of any science party is the hands-on experiments — this is where the real magic happens. Kids get to mix, fizz, squish and erupt their way through a series of fun activities that feel more like play than learning.
When it comes to science activities, you can either run the experiments yourself, or book a science entertainer for the occasion.
Booking a professional takes the pressure off; they’ll bring the equipment, keep the kids engaged, and handle the mess, leaving you free to enjoy the day too.
Popular science party activities include:
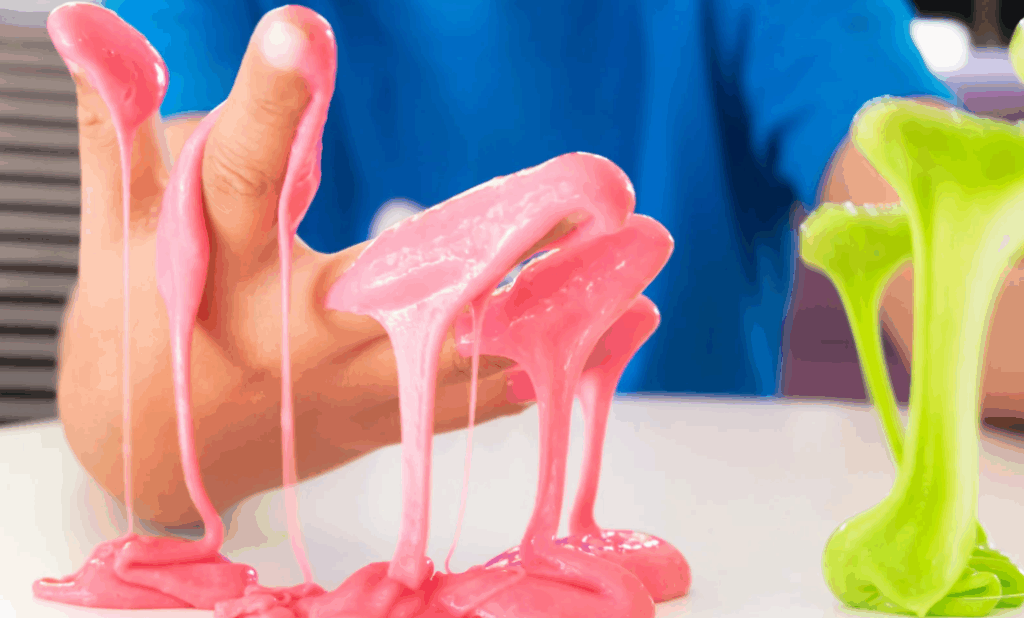
- Slime-making – a crowd favourite! Mix PVA glue with bicarbonate of soda and contact lens solution to create stretchy, gooey slime. Kids can customise it with glitter, food colouring or even foam beads.
- Baking soda volcanoes – perfect for dramatic eruptions. Combine baking soda and vinegar inside a volcano-shaped mould (or cup) for a fizzy lava explosion.
- Rainbow milk – watch colours swirl and dance with just milk, food colouring and a drop of washing-up liquid. It’s a gentle, magical intro to surface tension.
- DIY lava lamps – mesmerising and easy to make with water, oil and food colouring. Add a fizzy tablet and watch bubbles float and pop like a real lava lamp.
- Coke and Mentos – always a hit (literally). Drop Mentos into a bottle of Coke and stand back for an epic fizzy fountain. Best done outdoors!
- Elephant toothpaste – a foamy, bubbly reaction using hydrogen peroxide, yeast and soap. It looks like giant toothpaste squeezing out of a tube – guaranteed wow moment. Just be sure to supervise closely and use child-safe concentrations of hydrogen peroxide (or swap in yeast-based versions for younger kids). Safety goggles are a great shout for this one!
- Bouncy balls or putty – made using borax, cornflour and glue, these DIY creations are a fun, hands-on way to teach kids about chemical reactions, and they get to take them home.
Make sure to choose experiments that suit your space, the number of guests, and the age group. If the kids are younger, simpler (and less messy) experiments may be best. For older kids, a slightly more complex set-up or themed activity (like forensic science or space missions) can keep them engaged.
To mix things up, consider adding in a few classic party games between experiments, it helps manage the energy levels and gives kids a chance to move around.
Create a science-proof space
You’re most likely going to be mixing ingredients with kids to create a chemical reaction… expect some mess.
The good news? Most science experiments for kids are fairly easy to clean up as long as it’s on a hard surface. Simply set up a table with either an easy to wash table cloth or a disposable one.If you’re indoors, make sure there are no carpets, rugs, cushions or other stain-prone items nearby. It’s also a good idea to set clear ‘party’ and ‘non-party’ zones in your house and let the young guests know which rooms are off-limits.
Tip: If you’ve booked a science entertainer, they’ll usually have their own kit and know how to contain the chaos. But if you’re running things yourself, this setup will help keep things under control.
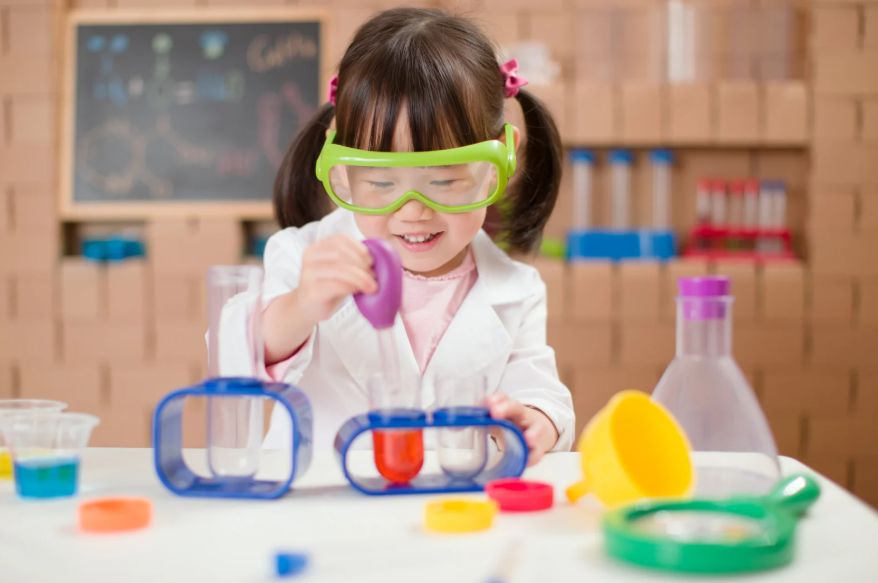
For each child, you’ll want to provide:
- Safety goggles (not essential, but kids love them!)
- A tray, tub or shallow container (depending on the experiment)
- Stir sticks or small utensils
- Aprons or ‘lab coats’
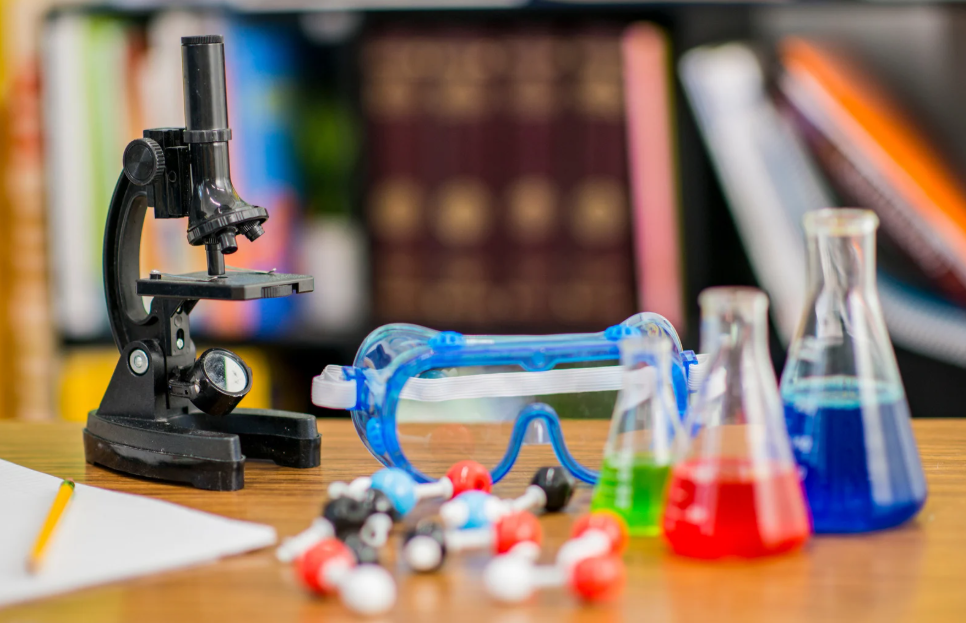
Get some decorations
Now it’s time to decorate your home or venue to match the science theme.
At PartyWizz, we usually recommend keeping it simple: let the experiments, test tubes and bubbling potions do most of the talking.
That said, a few themed touches can really bring the party to life, especially around the food table or entrance.
Here are some easy, low-effort ideas:
- Fill clear plastic cups or jars with coloured water to look like “potions”
- Use chalkboard signs to label areas as ‘Experiment Station’ or ‘Caution: Scientists at Work’
- Stick glow-in-the-dark stars or planets to the walls
- Display helium balloons with atom or beaker doodles drawn on
- Make “test tube treat bags” using clear tubes filled with sweets
- Cut out lightning bolts, beakers or microscopes from coloured card to stick around the room
Pro tip: If science-themed tableware is hard to find, a space or galaxy theme works just as well, and yes, it still counts as science!
Plan the food
The most common timings are either a late morning party with lunch and cake, or an early afternoon party with snacks and birthday cake before presents. Go with whatever suits your child and schedule best.
For classic party food ideas, you can check out our dedicated article on party food.
If you fancy going the extra mile, add a science twist! Serve drinks in beakers or test tubes, label snacks like “atom bites” (popcorn), “moon rocks” (cheese cubes), or “DNA twists” (twirly crisps). It’s a simple way to keep the theme going without too much effort.
Don’t forget the party bags
Party bags have become a staple for kids’ parties. For ideas on what to include, take a look at our party bag ideas guide. For science-themed parties, you might want to add a small keepsake from the day, like their homemade slime or bouncy ball. Just be sure to let parents know in case things get messy on the way home!
You could also pop in items like test tube sweets, mini magnifying glasses or science-themed stickers to keep the theme going.
Send the invitations
Now it’s time to craft the invitations and send them out. Ideally, you want to have them sent 3-4 weeks before the party. From experience, we feel that it’s the sweet spot.
You can choose digital invitations, which are quick and easy to send, or opt for printed invites if you want to make it feel extra special.
Whichever route you go, we recommend sticking to digital RSVPs to make responses easier to track. For small groups, a WhatsApp message works perfectly. For larger groups, try using a free online RSVP tool.
To design your invitations, we recommend Canva — it’s a free drag-and-drop design tool with lots of brilliant invitation templates ready to customise.
Need help with the wording? We’ve put together a full article with invitation wording examples you can copy and paste.
Have a schedule
It’s not a business meeting (far from it) but having a simple outline can make the day run more smoothly. You don’t need anything exact, just a rough guide. Here’s an example:
- 11:00 – Welcome the guests
- 11:30 – Science activities
- 12:30 – Lunch
- 13:00 – Cake and presents
- 13:30 – Free play
- 14:30 – Parents arrive, and perhaps stay for a cup of coffee
Depending on the length of your chosen activities, feel free to adjust the timings. Some parents prefer to do the activities after food, it’s totally up to you.
Pro tip: We’ve allowed 30 minutes each for lunch and for cake and presents. In most cases, that’s plenty of time.
With a little planning (and a lot of curiosity), your science party is sure to spark excitement, laughter and plenty of wow moments!
PartyWizz helps you book the best kid’s entertainers and party services in UK and Ireland. From magicians and face painters to party packages and photographers, you’ll find those in your area on our easy-to-use platform. Whether you’re planning a birthday party, christening, communion or a corporate family day, go to PartyWizz to find the perfect service providers hassle-free!


